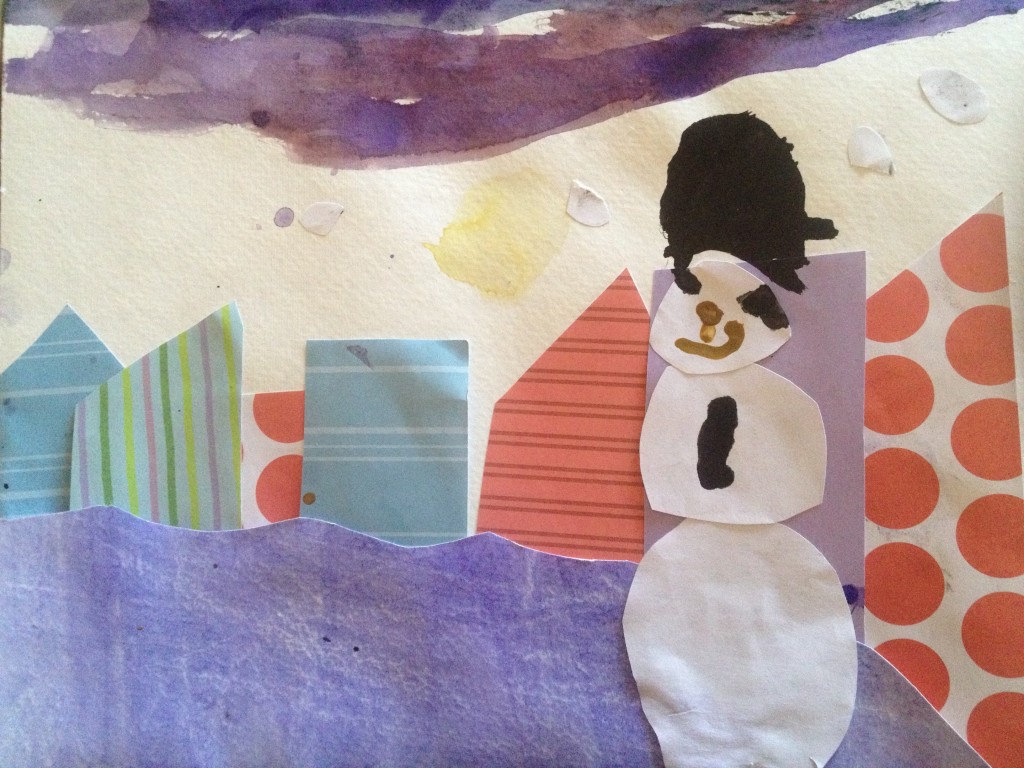
Madeline (9) loves art and decided to teach her little 4-year-old sister how to do an art project inspired by Snowy Day
Welcome, Madeline! (She started typing this on her own, but her hands grew tired so she asked me to type while she narrated. This is all in her words with the exception of the “tsumommy” definition.)
Hi – my name is Madeline as you know and I already know that you know about me so let’s get started.
Things you will need:
Two sheets of watercolor paper
Watercolor paint and paintbrushes
A white crayon
Scissors
Colored or designed paper of your choice
Glue sticks
Paper towels
Instructions:
1. First, grab a piece of watercolor paper. Color the piece with white crayon until you think it’s pretty much covered.
2. Choose watercolor paints that are a wintry color like blues and purples, and paint the entire piece of watercolor paper. Once you’re finished painting the paper, dab it with a paper towel to spread all of the paint around (make sure paint is watery and light because if it gets too dark, it won’t look like snow; I had this problem with Mary Elizabeth’s). Allow it to dry and move onto the next step.
3. Use your patterned or plain paper to cut out different types of buildings – some big, some small, some narrow, some large, your choice.
4. Once the watercolor paper you painted is dry, cut out big snowdrifts for your background and glue some of them onto a second piece of watercolor (Mom’s addendum: regular card stock paper would work for this step as well) paper. Add buildings, and then layer more snowdrifts on top.
5. Now comes the fun part! You may cut out any snowy image you would like such as snowmen or trees or traffic lights – anything you would like – and glue onto your scene. If you have more leftover snowy paper that you painted, you can cut out snowflakes or snowballs and make it look like there’s snow on the buildings.
6. Allow picture to dry. (Don’t wake up Mommy to show your masterpiece. Wait until she gets up.) Oh, and be sure to clean everything up, so there’s no chance of a “tsumommy.”* Just a warning. ![]()
*A tsumommy is what we jokingly refer to as a mom who crashes into a room and is inclined to go a little crazy over messes.
Here’s what M.E. and my finished products looked like:

Mary Elizabeth’s “Snowy Day”
